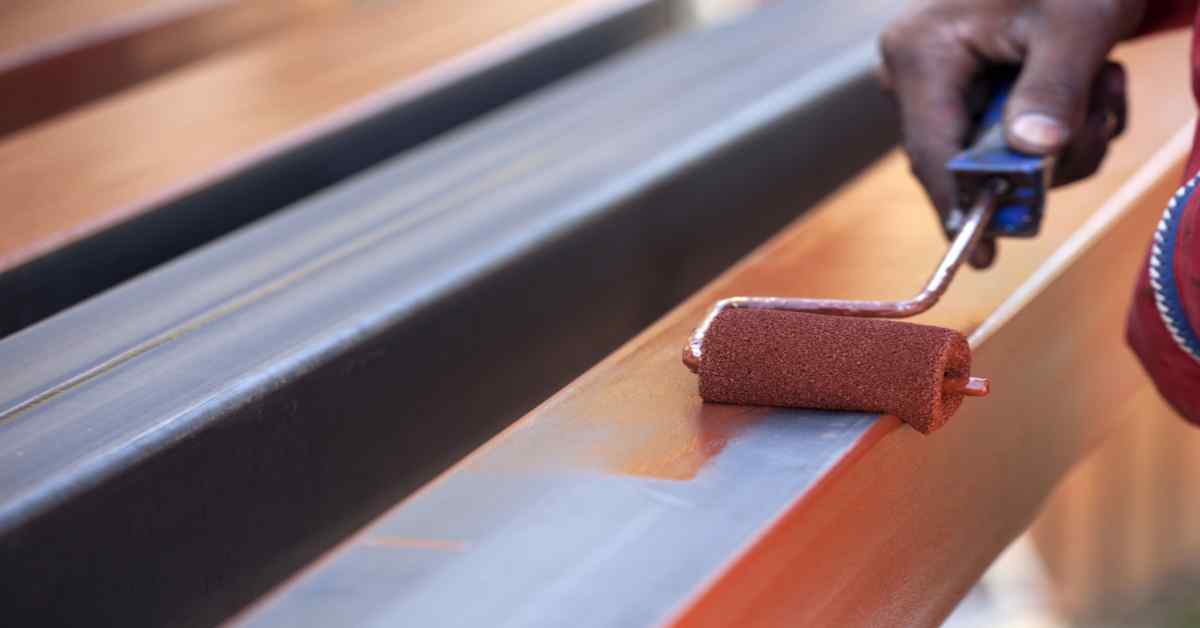
To enhance wood’s natural beauty, choosing the right wood stain for your project is essential. Whether you’re a DIYer or hiring professionals, selecting the right stain is key for achieving the desired look. This guide covers the types of wood stains, how to choose the right one for your wood, preparation tips, application techniques, and finishing touches for durability.
Understanding Different Types of Wood Stain
When exploring wood stains, it’s clear they are not one-size-fits-all. Firstly, oil-based stains are known for deep penetration and a long-lasting finish, providing a rich, durable color. Conversely, water-based stains offer quick drying times and lower VOCs, making them a more eco-friendly choice. Moreover, gel stains are ideal for detailed work or vertical surfaces due to their thicker consistency, which prevents drips and ensures smooth application. Finally, varnishes add extra protection and a glossy finish, enhancing the wood’s aesthetic appeal. Therefore, understanding these differences is essential for choosing the right stain to meet both your project’s aesthetic needs and the wood’s natural properties.

Choosing the Right Stain for Your Project: Wood Types
Navigating woodwork requires understanding how different wood types interact with stains. Firstly, hardwoods, with their dense grain, accept stains uniformly, allowing for a smooth application that highlights their natural beauty. In contrast, softwoods, due to their porous nature, can absorb stain unevenly, potentially affecting the project’s overall look. Therefore, pre-conditioning softwoods is crucial, similar to laying a foundation before building. Additionally, conducting a patch test in a hidden area reveals how the stain will interact with the wood, showing the true color and finish. By doing this, you ensure the stain enhances the wood’s natural charm and aligns with your project’s visual goals.

Choosing the Right Wood Stain for Your Project: Preparing Your Wood Surface for Staining
Starting a wood staining project requires thorough preparation for a professional finish. Firstly, sand the wood carefully to remove any previous finishes, blemishes, or impurities, and to create a smooth surface. Use progressively finer grit sandpaper to perfect the surface. Next, clean the wood to remove dust and debris, which ensures the stain applies evenly. If the wood might absorb the stain unevenly, apply a wood conditioner to promote uniform absorption and avoid blotches. Overall, these preparatory steps are crucial for achieving a staining result that enhances the wood’s beauty and showcases your craftsmanship.

Application Techniques for Different Stains
Mastering wood stain application involves using the right technique for each type. For oil-based stains, use a brush, cloth, or foam applicator to ensure even coverage and deep penetration for a durable finish. In contrast, water-based stains benefit from a brush, roller, or sprayer, which provides swift, uniform application and quick drying. Meanwhile, gel stains require careful application with a rag or brush, applying thin layers to prevent drips and build-up. Finally, apply varnishes with a brush in thin, methodical coats to avoid streaks or bubbles and achieve a smooth finish. Overall, using the correct technique for each stain type enhances the wood’s natural beauty and ensures a long-lasting result.

Finishing Touches and Sealants for Durability
Transforming wood with stain concludes with applying a sealant to protect and preserve its new look. Choose sealants like polyurethane, lacquer, or shellac for a glossy or matte finish, guarding against scratches, moisture, and UV rays. Apply sealants in thin, even coats, following the manufacturer’s drying and curing instructions. Regularly clean and reapply the sealant to maintain the wood’s beauty and durability. Ultimately, this final step ensures your project’s longevity, allowing it to withstand the test of time.


