Quick Fixes for Paint Cracks and Peeling:
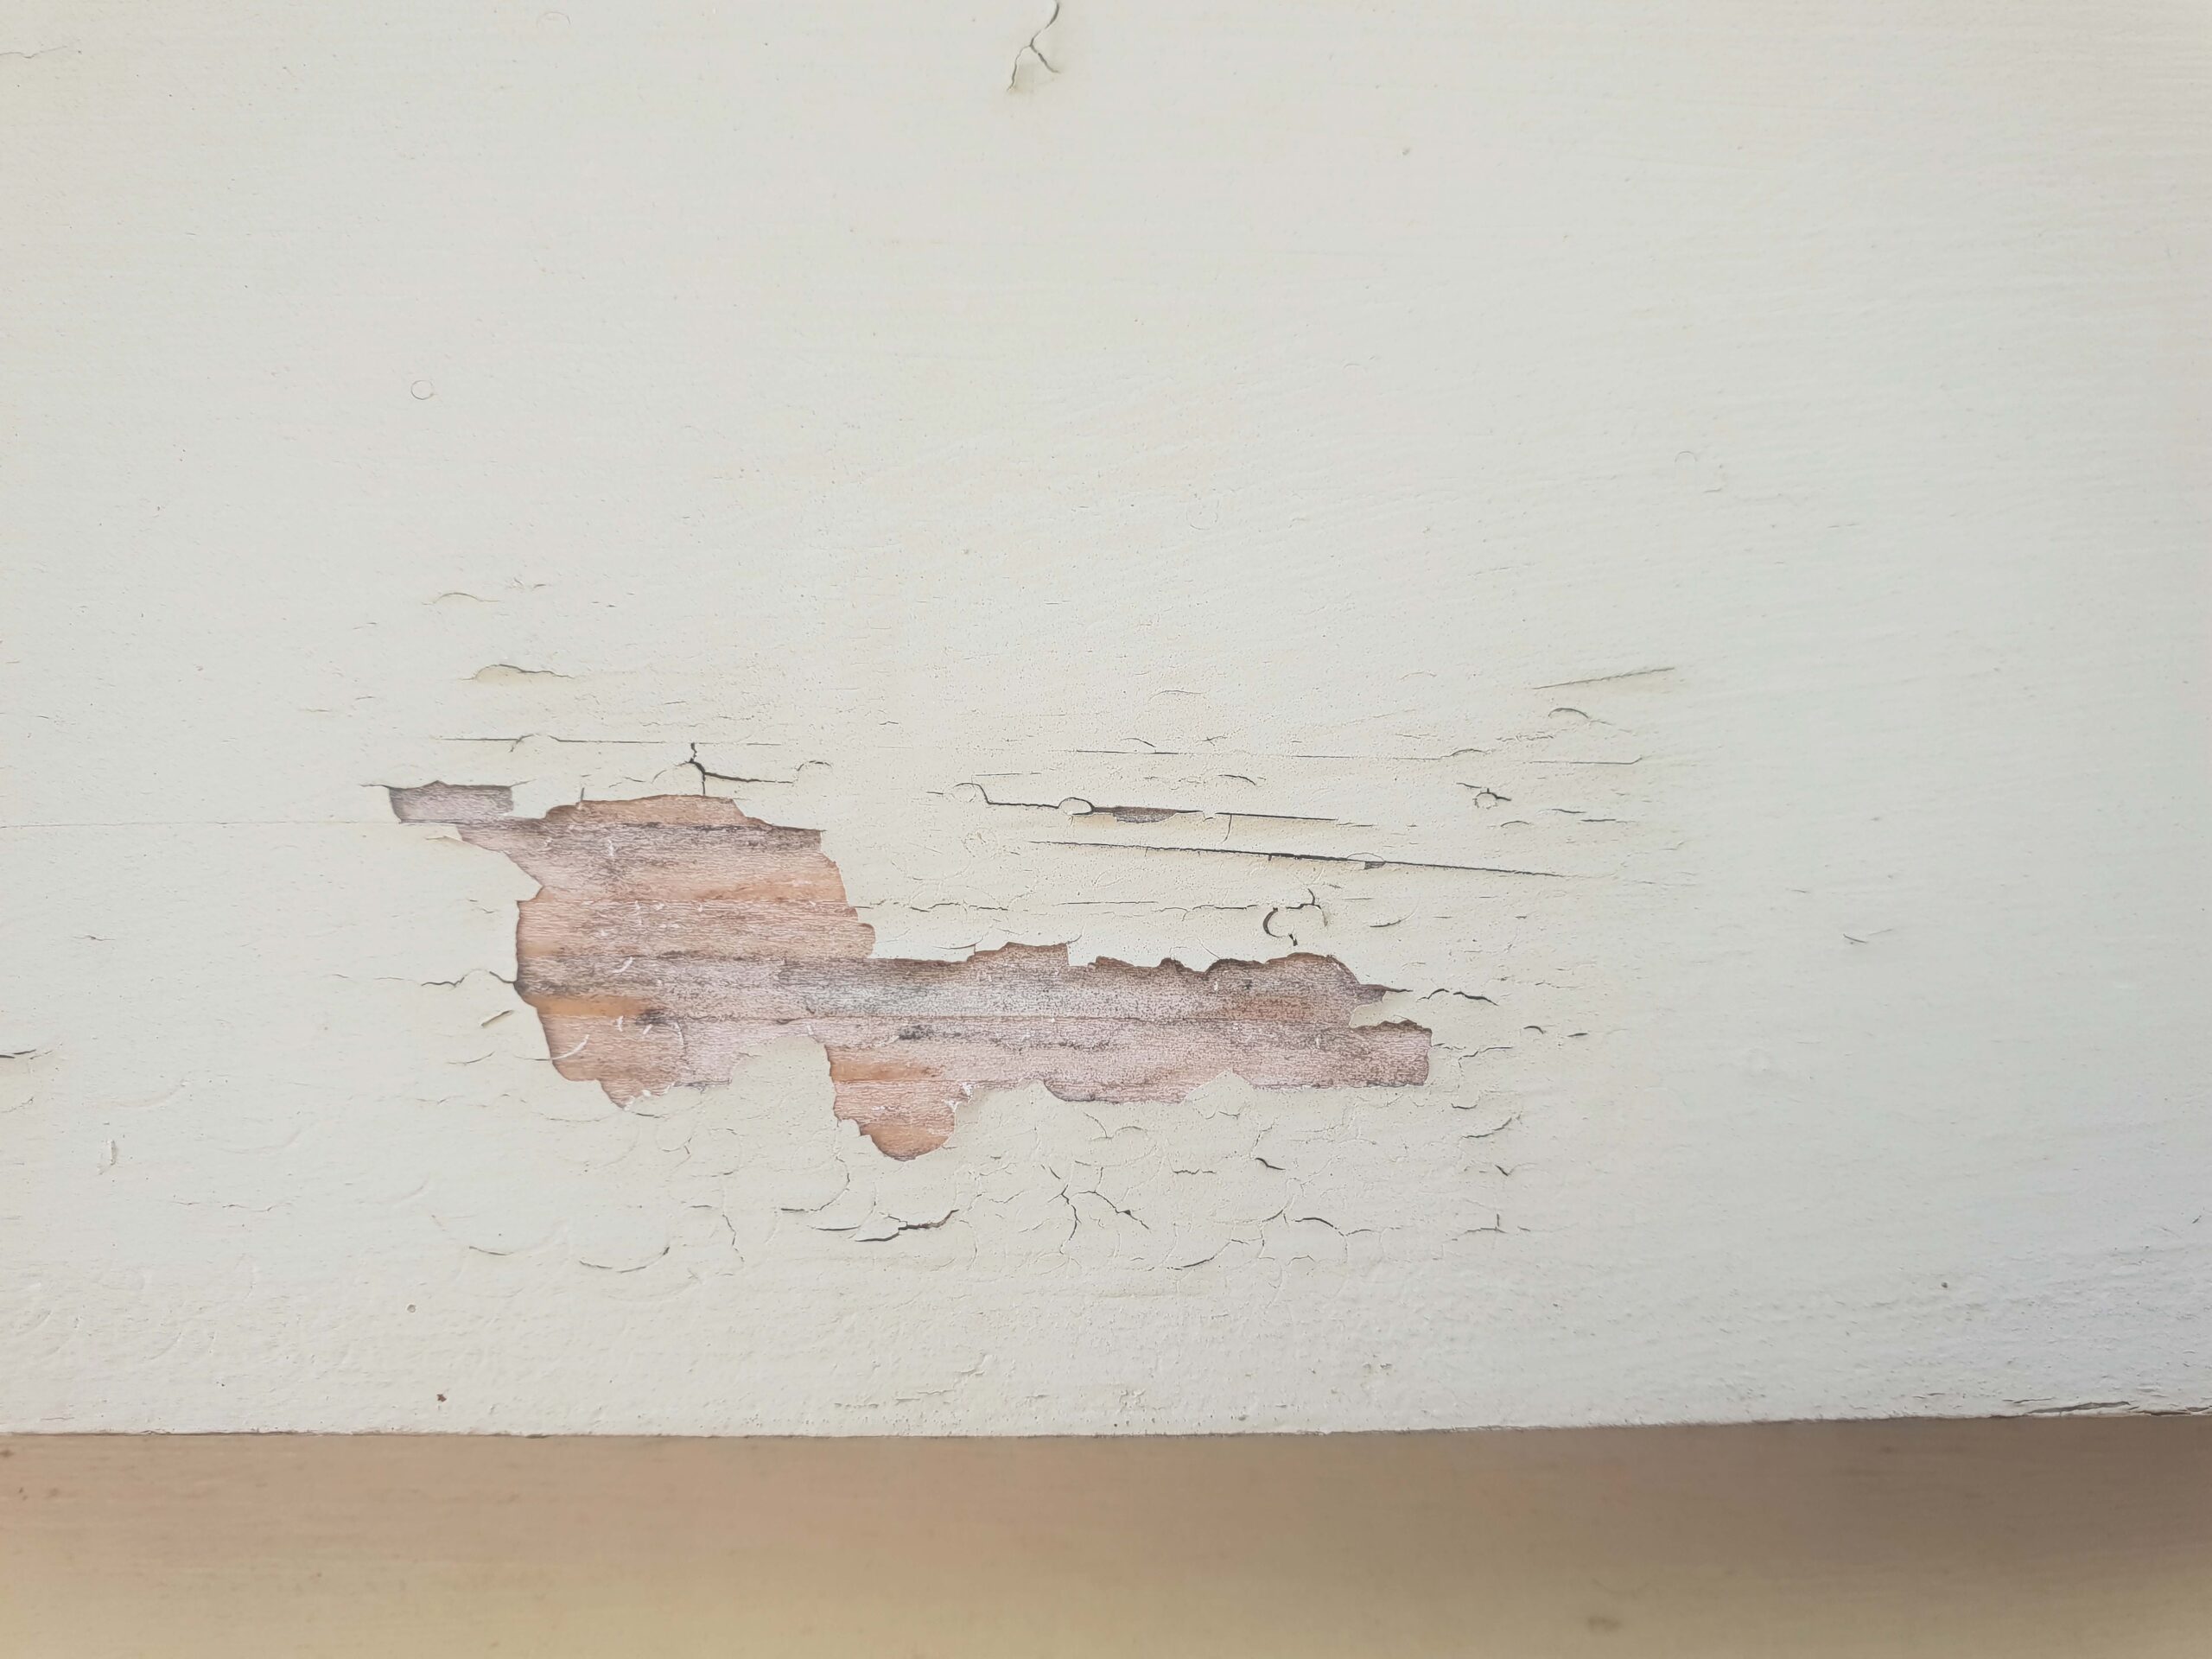
Peeling paint and cracks can make your home look neglected. Whether from age, poor application, or environmental factors, these issues are frustrating. Fortunately, repair painting techniques can restore your home’s appearance. In this post, we’ll explore quick fixes for cracks and peeling with practical DIY tips. If needed, contact professionals for help.
Identifying the Causes of Paint Cracks and Peeling
Paint cracks and peeling can result from several factors. Excess moisture or water damage often causes peeling by creating blisters that detach paint from the surface. Poor surface preparation, like inadequate cleaning or priming, prevents proper adhesion, leading to cracks. Temperature fluctuations cause materials to expand and contract, resulting in cracks. Low-quality paint products can accelerate deterioration and make surfaces more prone to peeling. Lastly, aging paint naturally wears down, causing cracks and peeling over time.

Essential Tools and Materials Needed for Repairs
To effectively tackle paint cracks and peeling, first gather the right tools. Start with a putty knife for scraping loose paint and filling cracks, then use sandpaper to smooth surfaces for better adhesion. Next, apply a high-quality primer to prepare the area for new paint, and choose durable paint suited for your surface. Additionally, caulk is essential for sealing gaps around windows, doors, and trim. Finally, have brushes, rollers, and drop cloths ready for even application and to protect your floors. With these tools, you’ll ensure a smoother repair process.

Preparing the Surface for a Smooth Application
Proper surface preparation is key to achieving a durable, beautiful finish. To prepare effectively, start by clearing the area of furniture and decorations for an unobstructed workspace. Next, inspect and clean the surfaces, checking for moisture or damage and using mild detergent to remove dirt and grease. Then, scrape away loose paint with a putty knife, being careful not to harm the surface. After that, sand the surface lightly to smooth it for better paint adhesion, feathering the edges to avoid visible lines. Finally, dust off the area with a damp cloth and let it dry completely before moving forward.

Quick Fixes for Paint Cracks and Peeling: Step-by-Step Guide to Fixing Minor Paint Cracks
Minor paint cracks can be quickly addressed with these simple steps:
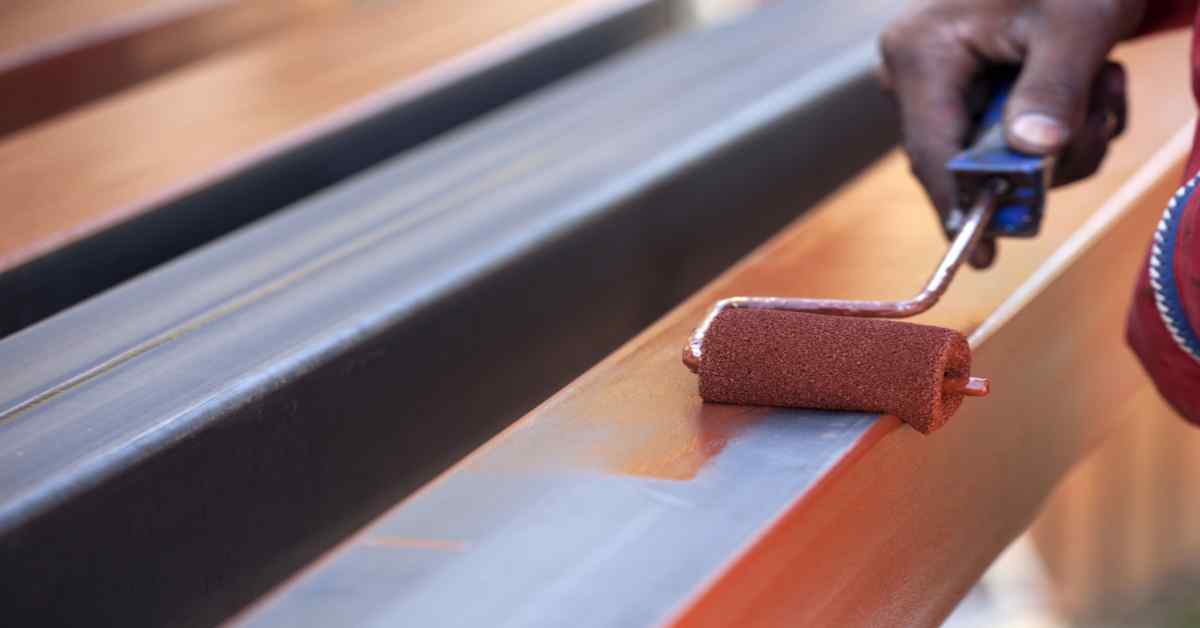
Clean the Area: First, ensure the crack is free of dust and debris. Apply Caulk: For deeper cracks, fill them with caulk, smoothing it with a wet finger or putty knife for an even finish. Prime the Area: After the caulk dries, apply a coat of primer to help the new paint adhere properly. Paint: Once the primer is dry, use a small brush or roller to paint over the area, feathering the edges to blend with the surrounding surface. Inspect and Touch Up: Finally, inspect the area after the paint dries and touch up any missed spots.
By following these steps, you can efficiently repair minor paint cracks and restore your walls.

Addressing Severe Peeling and Cracking Issues
For severe peeling or cracking, a thorough approach is essential. First, scrape all loose paint with a putty knife until you reach a stable surface. Then, sand the area smooth to prepare for new paint. Next, apply a high-quality primer to seal the surface and provide a strong base. Additionally, fill larger gaps or cracks with spackle or joint compound, allowing it to dry before sanding smooth. Afterward, repaint with your chosen color, applying multiple coats if necessary for even coverage. Finally, inspect the area for any remaining imperfections and touch up as needed.

Quick Fixes for Paint Cracks and Peeling: Preventative Measures to Avoid Future Paint Issues
To keep your freshly painted surfaces pristine, follow these preventative measures:
1. Choose Quality Materials: Always select high-quality paints and primers suited for your surface type. These products offer better coverage, durability, and resistance to cracking and peeling.
2. Regular Maintenance: Set up a routine inspection schedule for both interior and exterior surfaces. Catching minor issues like small cracks early can prevent bigger problems later.
3. Control Moisture: Address moisture sources quickly by fixing leaks and using dehumidifiers. Moisture is a major cause of paint failure, so managing it is essential.
4. Proper Surface Preparation: Before painting, ensure the surface is clean, dry, and primed for better adhesion and a more durable finish.
5. Professional Application: If unsure of your painting skills, hire professionals. They have the expertise to apply paint evenly and efficiently, ensuring lasting results.
6. Climate Considerations: Plan exterior painting projects around the weather. Avoid extreme temperatures or high humidity, which can impact paint drying and adhesion.
By following these strategies, you can protect your home’s paintwork and keep it looking attractive for years to come.


